Product photography is an important part of selling online, whether through an online store or social media.
That’s because photos are the main testament to the quality, texture, size and condition of products – and it’s the seller’s job to convey these things. Images also reflect the seller’s professionalism (or lack thereof), which can reassure the buyer of your high standards of service.
What’s more, people are visual creatures that love a good look before purchasing something they can’t see or pick up in person.
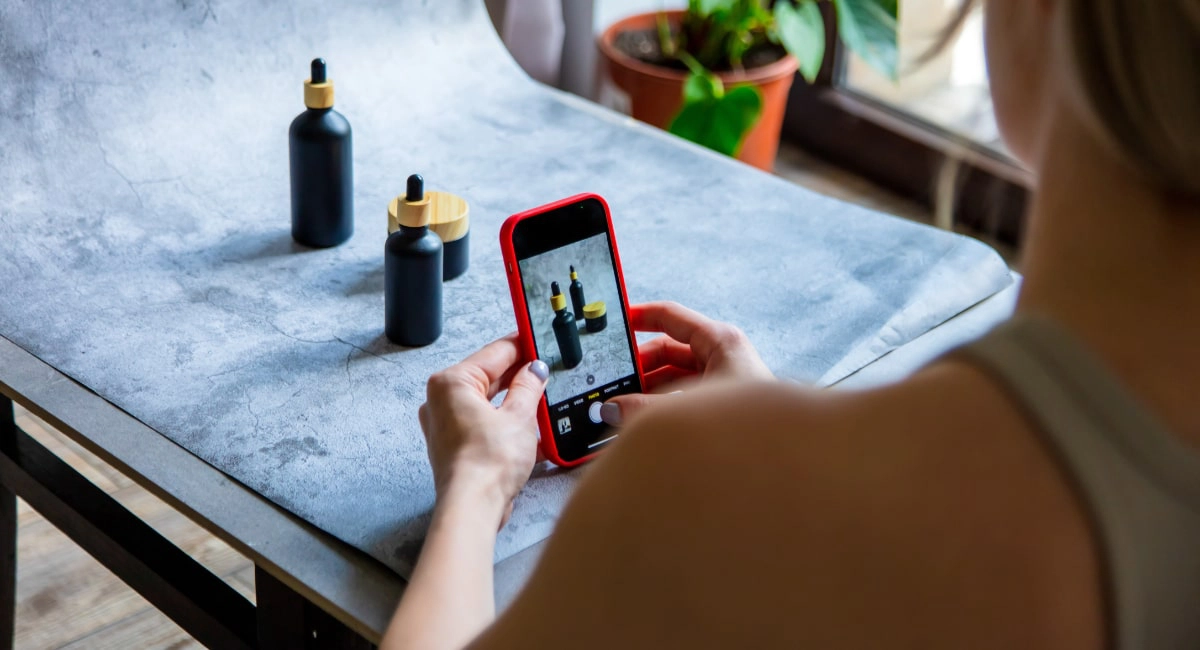
It can nevertheless be a challenge to take good pictures, especially with limited means like an iPhone. Most sellers just have a smartphone camera, but that’s actually good enough for an online store with the tips below.
Light and shadows are important
The number one thing that most affects the quality of a photo is arguably lighting. If your location is too dark, photos tend to get blurry, too shadowy, grainy and devoid of the fine details. So having the perfect light is in some way more important than the quality of the camera.
In professional photography, arranging the lights properly is an integral preparation for studio shoots, but you don’t need to be a pro to light your product beautifully. A few basic rules and makeshift tools can help.

Shadows can be used to create a nice visual effect, but too much of it can erase details.
Indoor lamps are often too dim for a clear photo, so get outside or find a good spot by a window during the day. Sunlight is best in the morning when it is diffused and not too bright. Diffused light produces fewer, lighter shadows whereas midday sunlight tends to be strong and direct, causing dark and sharply defined shadows.
If there’s not enough light, try positioning lamps around the item. You can also make a reflector by sticking aluminium foil onto a piece of cardboard. This can be angled to reflect light onto a side of the product that’s otherwise too dark.
Get the background right
A clean, simple background helps keep the focus on the product. If your background looked too random and visually ‘busy’, the image could look amateurish.
You could, for example, place the product on a table or wooden floor with nothing (or very little) showing in the background from your camera angle. Matt surfaces tend to look better than shiny ones, though it could produce a nice effect with parts of an item reflected in a balanced, inconspicuous way.
Granted, not everyone has a well-lit location with a plain background, in which case you can make one. A big piece of cardboard, fabric or surface area can be placed on a table (wherever you have good light). Make sure it’s clean so you don’t get small fibres, dust, dirt etc. showing on the images.
Include different angles and close-ups
To get a full impression of a product, you need to show it from different angles. This helps make it more ‘real’ to customers, some of whom might be interested in particular sides of it that one front-facing image doesn’t include.
That’s why Etsy encourages different-angled photos through its visual cues on the product creation page.

Etsy’s product listing page suggests a variety of angles and contextual photos.
The same goes for close-ups. If you, for example, sell clothes, up-close images of the fabric can really say much more than words. If an item is scratched, incomplete or damaged in any way, you’ll want to include close-ups of these imperfections so customers know what they’re getting (and it helps you avoid chargebacks).
Moreover, if you’ve got different sizes of the same item, you could place them next to each other for a visual comparison.
Show the product in use or a real-life context
Items placed in their natural context really help customers to see what it would look like in their own lives – creating a sense of imaginary ownership, if you like.
For example, earrings may look great against a plain, white backdrop, but this may not clearly show how big they are compared to your ears or how well they suit different skin colours. But a model wearing the earrings shows a more realistic idea of them, thereby giving people enough confidence to buy them.

Showing photos of the item in its natural context helps people imagine it in their lives.
Similarly, a model using a household object or just placing the object where it ‘belongs’ provides an instant impression of what you’re getting.
Tools and things used on motion would benefit from a video too, if it’s possible to upload this on your ecommerce platform.
Use props
Slightly different from putting products in their real-life context, using props can take photos to a higher creative level.
An example is the spilled coffee beans you always see on photos of coffee cups, or rose petals surrounding a bottle of bath oil or other luxurious item. Props shouldn’t be too out-of-the-place, and try not to overdo it (there is such a thing as too many petals).

Don’t be afraid to add related props to your photography setup.
It can be a fine balance to use props well. Too much of it in unnaturally idealised surroundings can make the image look too cheesy.
Props can also clarify sizes. Try placing your product next to a coin, postage stamp or any suitable item that most people are very familiar with. Sizing is an important consideration for many objects, so it adds value to your listing with a clear portrayal of this.
Always have sharp photos
Your photos should look sharp to look professional. Even a slight blur can downgrade an otherwise great shot to an amateurish, low-resolution photo.
Blur usually happens because it’s too dark in the shot, prolonging the shutter speed. In other words, the camera needs to receive enough light to make a photo, so if it’s too dark, the lens stays open for longer which allows more movement to be captured – thereby creating blur.
Daytime sunlight is usually enough to prevent blur, whereas indoor lamps may not be. If you are inside, use your brightest lamps – or multiple lamps – for the shot.

A tripod holding the camera still helps you get the sharpest photos.
If you can’t get enough light, get a tripod for your camera, which also eliminates blur as long as there’s no movement in the shot. If you held the camera while it used a long shutter speed, it would make a blurry photo, whereas a tripod keeps the camera still so it doesn’t matter how long the shutter speed is.
A tripod for your smartphone or digital camera is generally a good idea as it’s an excellent way to get the sharpest photos.
Get the size and format right
One part of photography is taking the images, another is editing them. Even if you’re lucky to have perfectly-shot photos, you may still need to resize, crop or convert them to a format accepted by your ecommerce platform.
Some platforms require fixed dimensions, such as 1000 x 1000 pixels, usually below a size limit like 5 MB. You may also need to convert to a JPEG/JPG format, which is the most common image type.
When you take pictures, try to keep the required dimensions in mind so it doesn’t look unbalanced when you crop the image afterwards.
Product photography apps can help
An easier route to decent photos is to use an app that does most of the work for you. Given the popularity of ecommerce, you can find apps specifically for making product photos for your store.
Mobile Transaction

Photo shot within Square’s Photo Studio app.
Mobile Transaction

Background choices in the Photo Studio app.
The easiest free option might be Photo Studio, created by Square. This is a really simple app where you take a square-shaped photo of an item, free of surrounding clutter, and the app automatically cuts out the entire background. You can then choose a simple, coloured background for it and use the photo online.
There are other apps like Pixelcut, PhotoRoom Studio and foldio360, all of which have costs for some features.